DIY RAK833 LoRaWAN Gateway. Part 1: Ordering parts and soldering

There are few LoRa gateways on the market, like popular one Laird RG1XX, but non of them are fine. RG1XX have great compatibility with TTN and can be set up with one click. But radio configuration is horrible and you don't have enough knobs to tune it. Debug capabilities are very bad and inconvenient.
In terms of production usage it's better to use gateways with support; when you look for development gateway with a lot of hacking capabilities it's better to look into DIY Gateways.
Here is a little overview of popular concentrator boards that can be used to make a gateway.
IMST iC880A
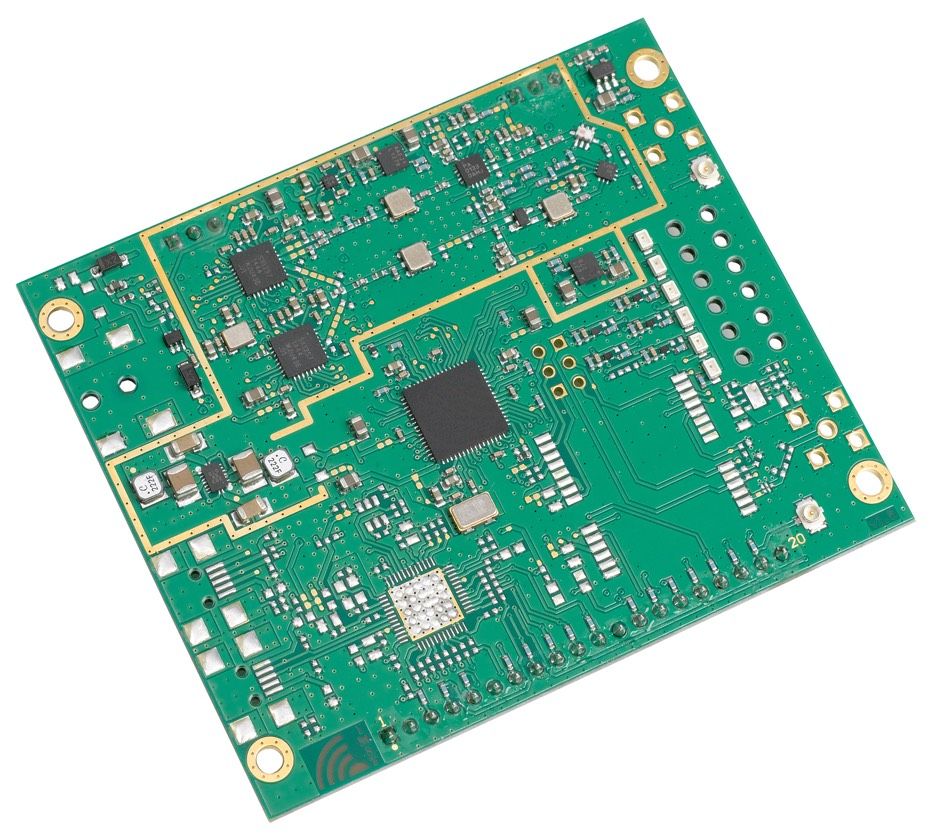
iC880A - is the first concentrator module, that was huge in size, pricey and first. A lot of people used it to make gateways and it works fine even in 2019. It's based on Semtech SX1301 modem and costs €119. Usually it's connected to Raspberry Pi board via special adapter board. Finally you get 3 layer working gateway.
RAK831
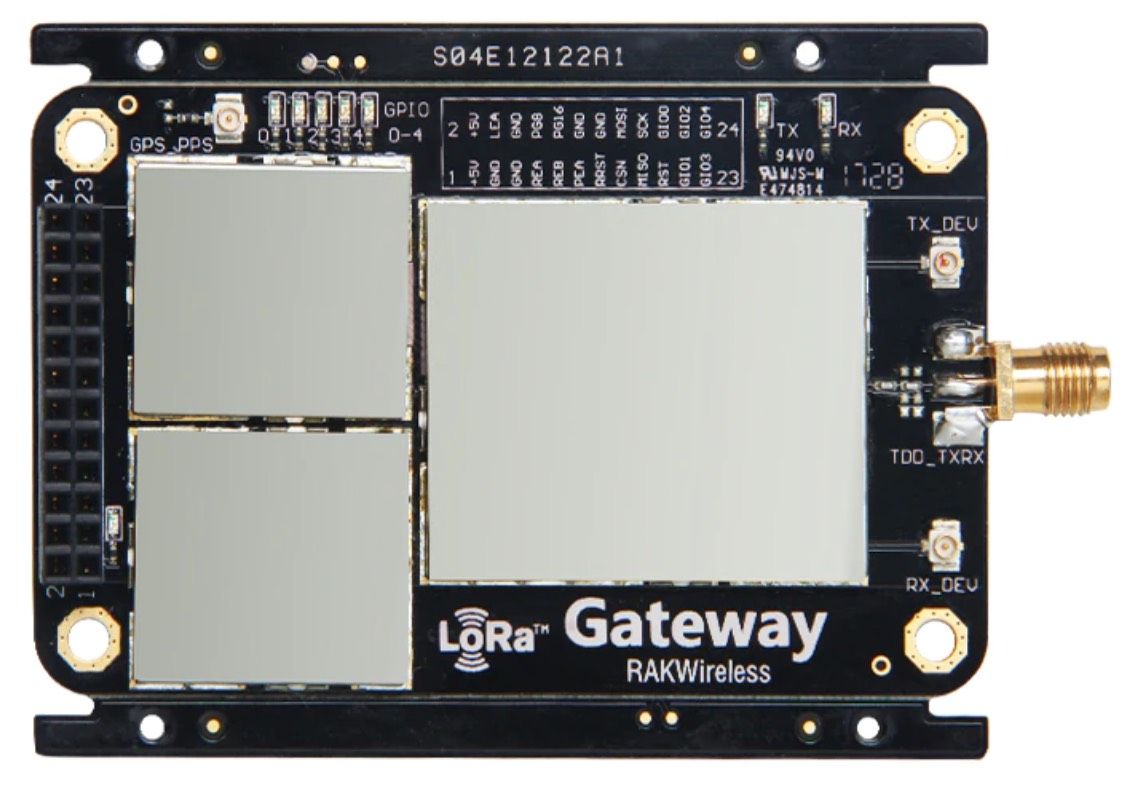
RAK831 is concentrator module from RAK Wireless, China based company. It's based on the same Semtech SX1301 and have same price €116. It also requires adapter board to connect to RPI. Great thing is you can buy it from Aliexpress directly.
RAK833
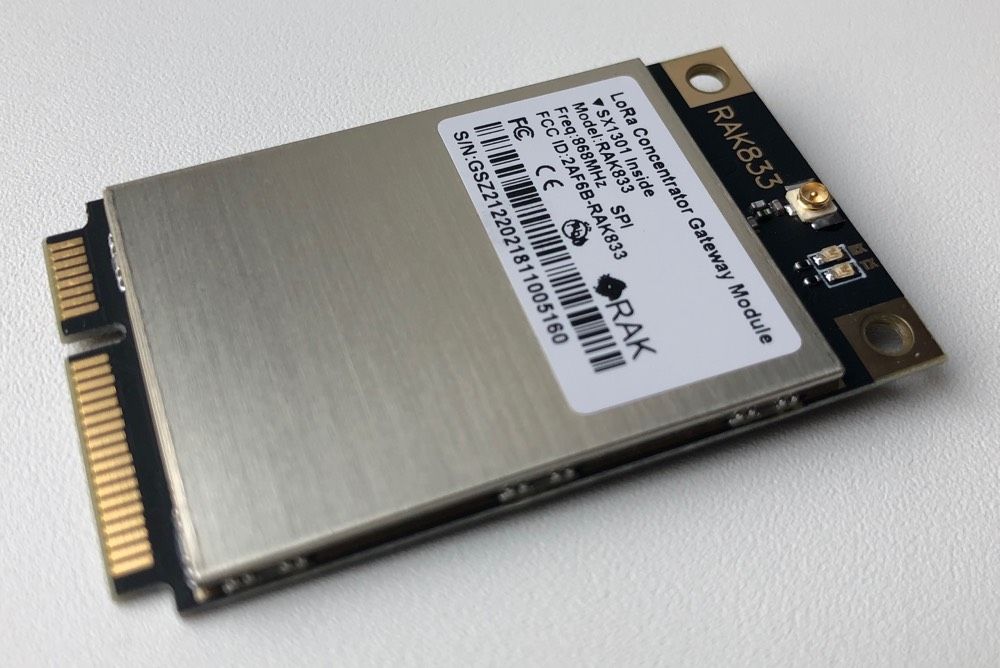
RAK833 is compact version of 831 module, but in small form-factor and mini PCI Express connection. It's based on the same SX1301 chip and work exactly the same. SPI-only version can be bought for only $99 from Aliexpress. You will need adapter board to connect it to Raspberry Pi, but it will be compact 2-layers "cake".
We will be using RAK833, because it's cheaper and smaller.
You will also need to buy heatsink and antennas for the module. Both are available in RAK Wireless store: Heatsink is a separate product and antenna set is a variant of RAK833 concentrator board.
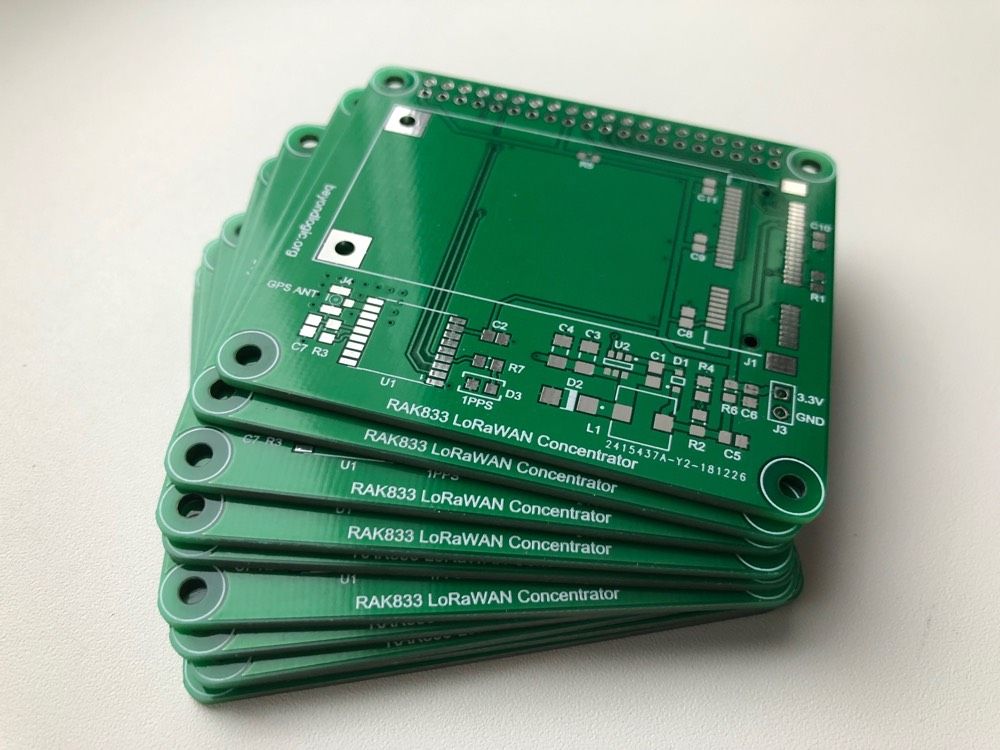
Adapter board
Craig Peacock made a great work designing a Raspberry Pi hat for RAK833 board. Latest version of this board can be found here: https://circuitmaker.com/Projects/Details/Craig-Peacock-4/RAK833-LoRaWAN-Concentrator-Hat
I ordered my PCB in China: jlcpcb.com makes 10x of these board for $2.
Components
Full list of components is available on the project page, but I will copy it here to be able to buy it locally:
- 1 x (C1) SMD-Shielded Power Inductor WE-PD, L = 15.0 µH 1.6A 200 MOHM SMD
- 1 x (C7) Ceramic capacitor 0805 10 nF 50 V ±10 % Tolerance X7R Surface Mount
- 1 x (C10) Ceramic Capacitor 0805 1 µF 25V 10% X5R
- 1 x (D1) Diode 1N4448WS 4 A 75 V 200 mW Surface Mount Fast Switching Diode SOD-323
- 1 x (D2) Schottky Barrier Rectifier B140 Series 40 V 1 A Surface Mount
- 1 x Headers & Wire Housings 20+20 DIL VERTICAL SOCKET TIN
- 1 x Board-To-Board Connector, M20 Series, Through Hole, Header, 2, 2.54 mm, Male
- 1 x U.FL male connector
- 1 x MM60 Express Mini Card Edge Connector 52 Pos SMD, 5.9mm
- 2 x MM60 Stand Off
- 1 x (D3) Red LED 2 x 1.25 x 1.1 mm 130° Water Clear 54 mcd 2 V LED Surface Mount
- 1 x MCP16301T-I/CHY Step Down regulator
- 1 x (C1) Ceramic Capacitor 0805 0.15 µF 50V 10% X7R
- 2 x (C3, C4) Ceramic Capacitor 1206 10 µF 35V 10% X5R
- 2 x (C6, C7) Ceramic Capacitor 0805 10 µF 6.3 V ±10% Tolerance X7R
- 1 x U-BLOX MAX-M8W GPS module
- 4 x (C2, C8, C9, C11) Ceramic Capacitor 0805 0.1 µF 50V Y5V
- 3 x (R1, R5, R6) Resistor Thick Film 0805 0 Ohm Molded SMD Paper T/R
- 1 x (R4) Resistor 0805 0.125 W 10 kOhms 1% ±100 ppm/°C SMT
- 1 x (R3) Resistor 0805 0.125 W 10 Ohms 1% ±100 ppm/°C SMT
- 1 x (R7) Resistor 0805 0.125 W 1 kOhms 1% ±100 ppm/°C SMT
- 1 x (R2) Resistor 0805 31.6K Ohm 1% 0.125W(1/8W) ±100ppm/C Epoxy Pad SMD T/R
You will also need:
- Raspberry Pi 3 B+
- SD Card
- Power Supply
Soldering can be a little bit trick if you never met SMD components, but totally possible at home. Be ware soldering Mini PCI Express connector, sometimes you can short pins occasionally.
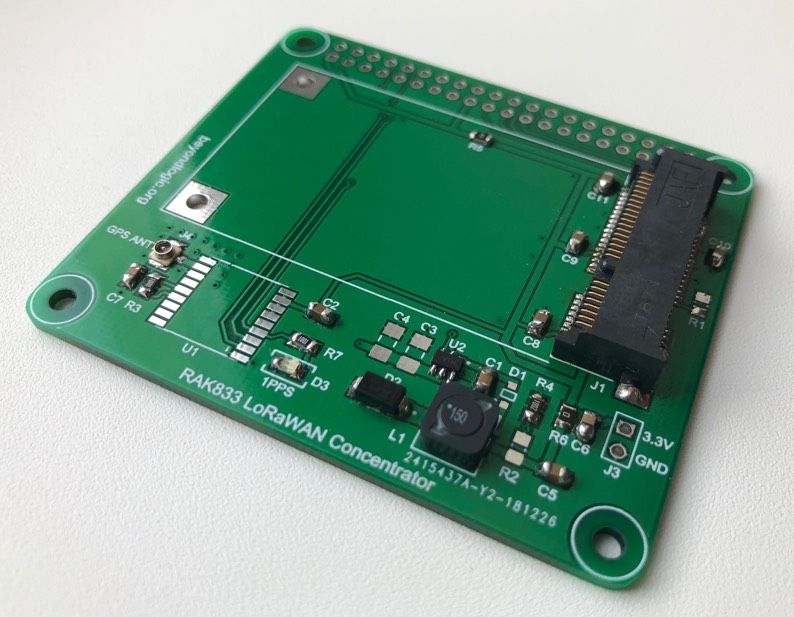
Here is my result without few missing components (resistor, capacitor, diode and GPS module):
In the next part we will show how to setup hardware and software for the gateway using BalenaOS. If you have any questions - please feel free to send me email to info@ivyknob.com.